Difference between revisions of "EWeLink Introduction"
(Created page with "===Overview=== eWeLink is a smart home control APP that can control all ITEAD home automation devices and cooperated products. The smart home devices connect to home applianc...") |
(No difference)
|
Revision as of 08:23, 6 September 2016
Contents
Overview
eWeLink is a smart home control APP that can control all ITEAD home automation devices and cooperated products. The smart home devices connect to home appliances and electronic devices via WiFi, allowing you to remote control though APP eWeLink. With eWeLink, users can control and manage more than 80 brands and over 100 types smart home devices.
eWeLink Basic Functions:
Remote on/off
Countdown/schedule timer
One-key sharing
Group/scene management
Add the smart home devices to eWeLink account, users can control the devices through accessing to Coolkit’s WeChat subscription account or adding widget to mobile desktop later on.
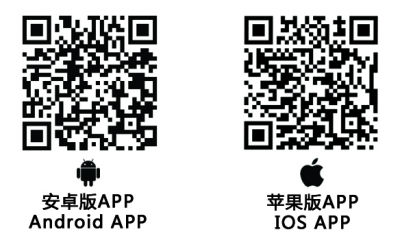
You can download iOS version from Apple APP Store, Android version from Google Play. Or you may directly download from Coolkit by scanning below QR code.
Following we will introduce how to use eWeLink.
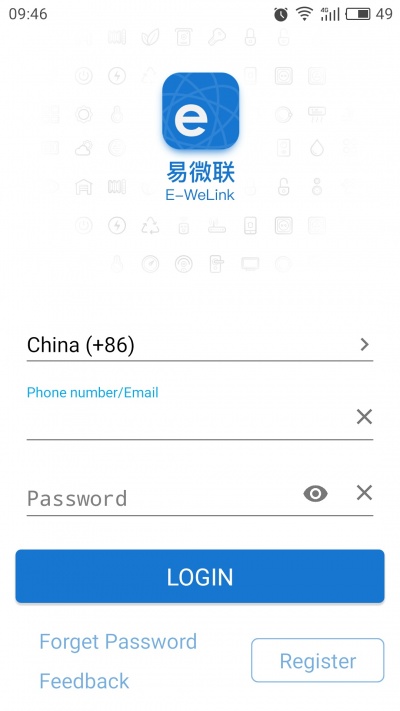
Registration and Log in
eWeLink supports multiple languages, currently includes simplified Chinese, traditional Chinese, English, Danish, Russian. It will support more language in the future.
It supports register by email or mobile phone number. Users from Asian area MUST register by mobile phone number. While users outside Asian area can register by mobile phone number or email address.
Select your country/region code , input a correct mobile phone number, then you phone will receive an SMS containing a verification code. If not receive, please disable SMS blocking. If registered by email address, you’ll receive an email containing a verification code. Fill in the verification code and password, confirm password and submit. For safety, password must be more than 8 characters.
One account can only log in to one mobile phone, if you have logged in with phone A, later you log in with phone B, your device will auto-exit from phone A.
WiFi Pairing and Device Adding
eWeLink obtains device status and controls devices by sending commands through cloud server. That means all devices must first connect to WiFi router and connect to our Amazon AWS server. So every new device must be paired with your home WiFi and added to eWeLink account.
Before adding a device, Android phone must open WiFi. Here below is how to pair with WiFi and add a new device:
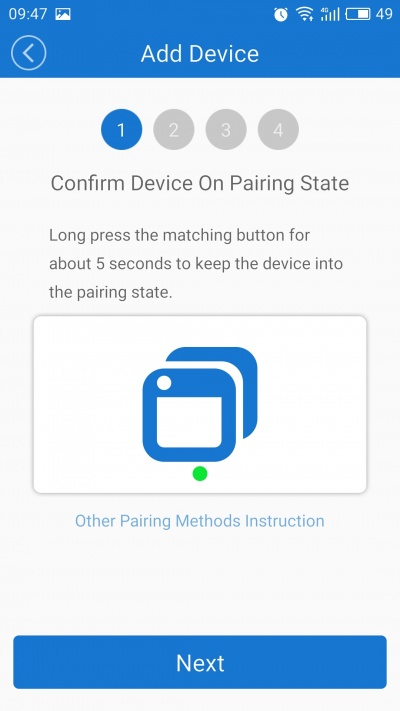
Step 1. Long press your device WiFi pairing button until it fast blinking.
Step 2. For Android, please select the pairing method according to how the LED blink. Click NEXT.
For iOS, please go to phone Setting>WiFi>connect the WiFi begins with ITEAD-*****, enter default password 12345678. Then go back to eWeLink, select the pairing method according to how the LED blink. Tap on NEXT.
A reminder here: if the phone asks similar question like "eWeLink wants to locate your position, accept or reject?" Then please always click ACCEPT, or it may cause a failed pairing.
Step 3. Enter your home WiFi SSID and password. If no password, keep it blank. Now eWeLink only support 2.4G wifi communication protocol, 5G-WiFi-router is not supported. Tap on NEXT.
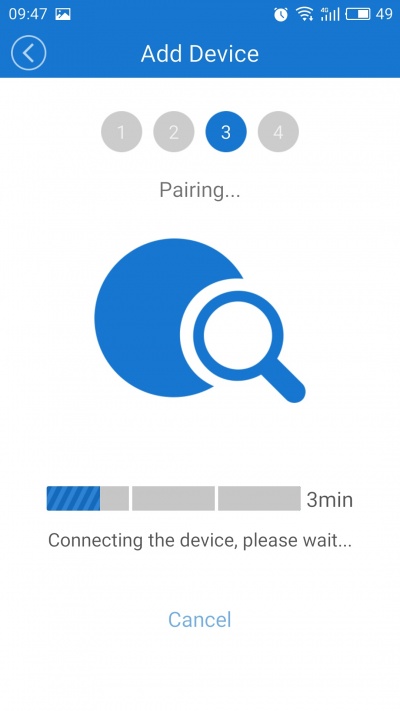
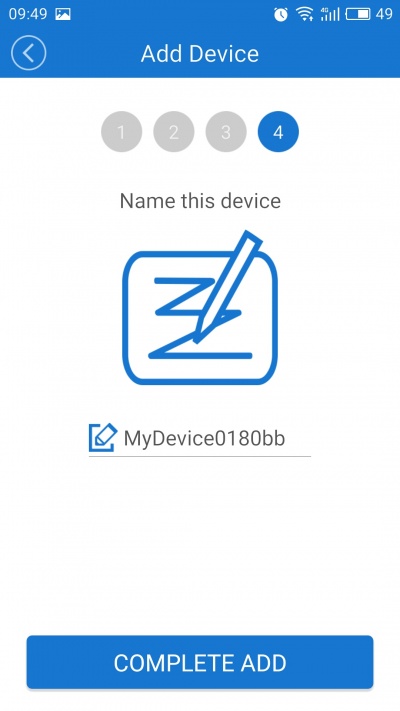
Step 4. eWeLink will auto-search and connect your device. After this process, you can name the device and submit. Completed!
Device List
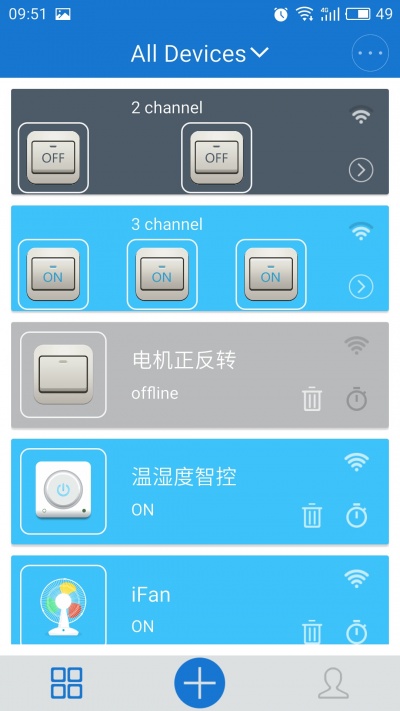
After successfully added, all devices will be seen in device list. You can see which devices are online which are not, WiFi signal strength, and whether there is new firmware to update, etc. You can directly turn on/off device by tapping the small switch icon. Besides, you can delete device by tapping on the delete icon. Tap on the clock icon you’ll see all timing schedules.
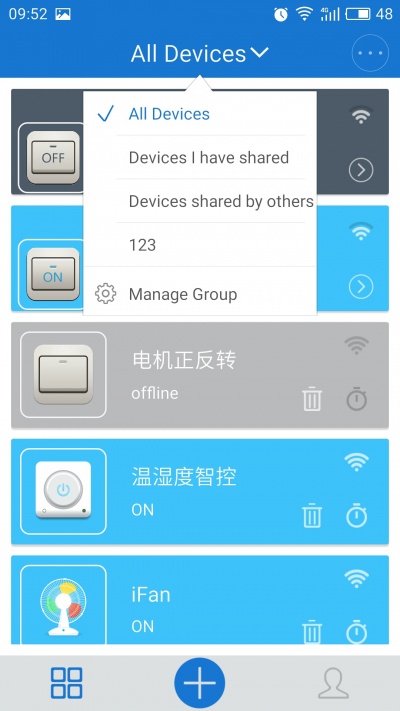
If you have too many devices, you may group them. Tap on the top “All Device” to expand the group information. Click”Manage Group”, you can set up different group for your devices.
Device Details
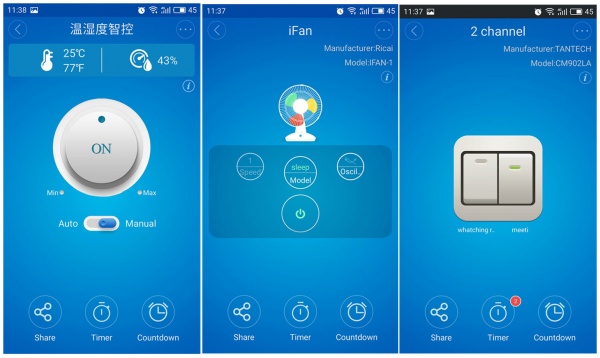
Tap on a specified device, you’ll enter into device control interface. Different device will have different functions and layout. Take some devices for example.
For Sonoff TH, you can see real time temperature and humidity. And supports to set manual/auto control mode. For dimming led, you can adjust light color and brightness. For iFan, you can switch among natural/sleep/normal mode, and in normal mode, you can adjust the wind level from 1-3.
Although different device type will have a different interface, they still have some icons in common.
Setting: change device name, check firmware version, enable/disable vibration switch.
Product info.:check manufacturer and model.
Share: owner can share the device to other eWeLink accounts.
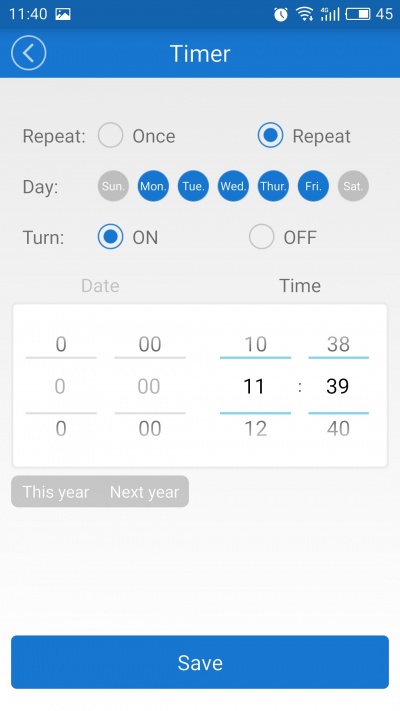
Timer: add new single/repeat schedules to turn on/off.
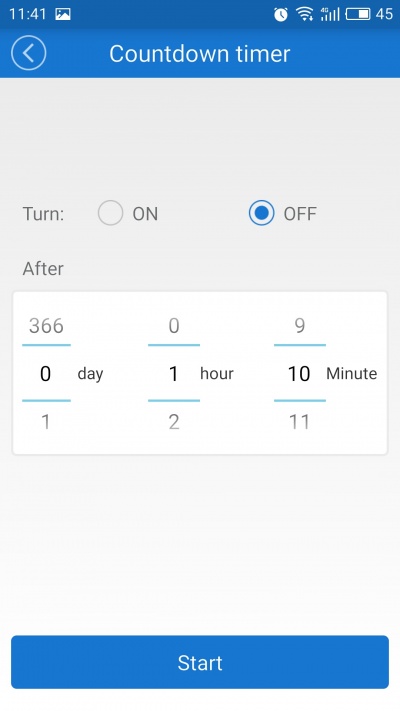
Countdown: add countdown timer to turn on/off.
Device Sharing
Device owner can share the device to others, thus others can turn on/off on eWeLink. This function is great for family, it will be great to invite them to control together.
While sharing device, both should stay on eWeLink. Because if the account you want to share is not online, he will not receive the invitation message.
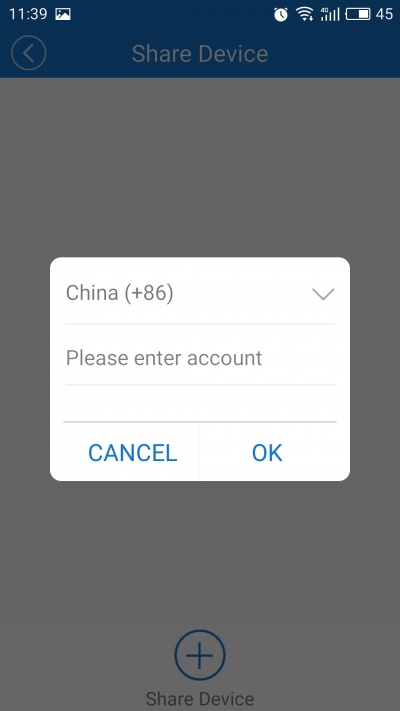
How to make it? Firstly click Share, input the eWeLink account (phone number or email address) you want to share, click Next. The other account will receive an invitation message. Click Accept, the device has shared successfully. He will have access to turn on/off the device.
Only owner have right to delete the device, to change the timers. Once the device has been deleted, it will disappear from others’ shared list.
Timing Task
Timing task is a basic function to all devices. The timing setting allows you to set a specified time to turn on/off device. Currently, we provide two timing types: countdown/schedule timing. While in schedule timing, you can set single/repeat timing.
Countdown timing allows you to turn on/off device after a preset time. The maximum countdown time is 24hr.
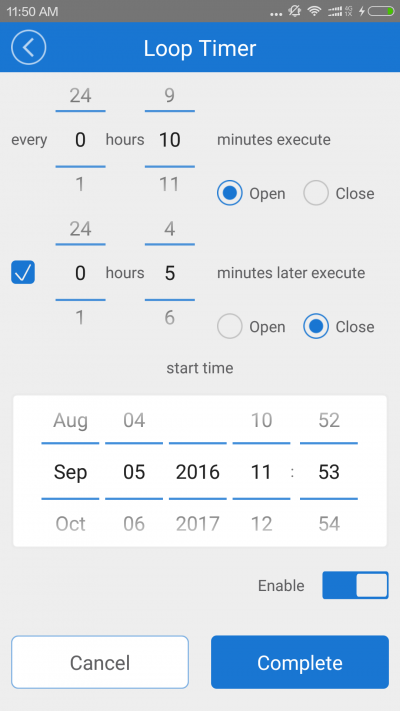
Single channel switch and socket support loop timer(Required firmware ver. 1.5.0 and higher). Loop timer can be auto-executed every preset time(say 1hr), and continue for a shorter preset time(say 20min). For example, use loop timer to control oxygen bump for fish tank. You can use loop timer to turn on oxygen bump every hour, and keep working for 20min and then auto-turn off the oxygen bump.
Scene and Smart Scene
A scene is set up to auto-execute an action for all devices in the same scene. To add a new scene, you can add different existing devices, name your scene and save. The 2 channel and multi-channel devices can even set power on state: on, off or keep. By adding different scenes, you will not need to turn off the device one by one any more. For example, you have added a scene “Leave”, once you go out, take out your phone, tap on the scene “Leave”with a finger, all devices will be turned off.
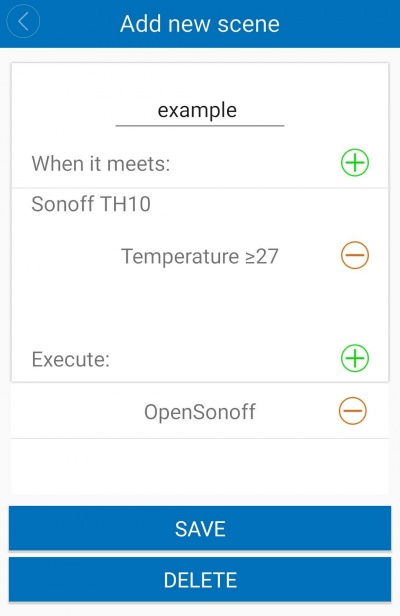
A smart scene can is set up to use TH device(Sonoff TH, Sonoff TH10, Sonoff TH16, S22) to trigger temperature condition to turn on/off other devices on your account. Currently, you can use Sonoff TH to collect temperature and set smart scene to turn on/off several types switch.
As eWeLink are supporting more and more brands and types, we will develop all kinds of smart scenes. For example, when you open a curtain, the LED will automatically adjust its brightness or turn off by sensing the real light. Another example, when you enter bedroom, the LED in living room will auto-turn off, thus saving energy.
User Center
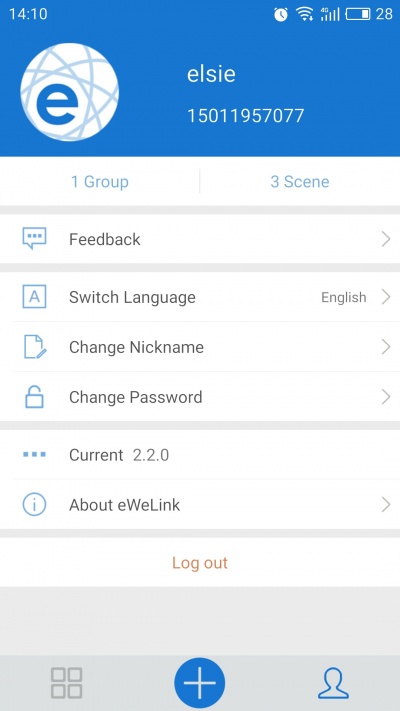
In user center, users can see some settings and information.
On the top, you can see how many group and scene you have created.
Feedback:you can submit a feedback on Feedback, our IT support will follow up your feedback.
Switch Language:you can switch among different languages.
You can change nickname and password here. Also, you can check APP version and update to the latest one.
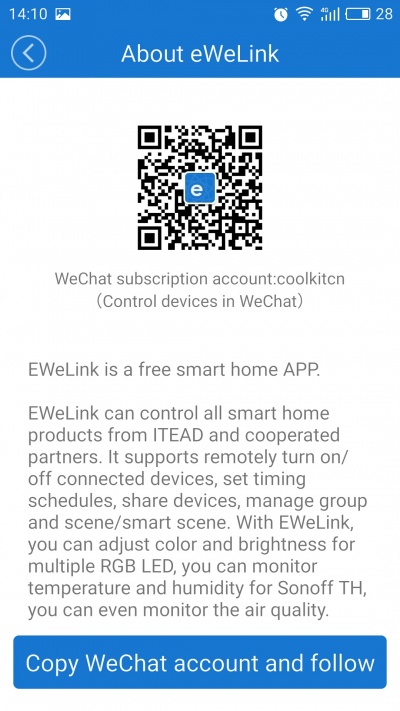
In About eWeLink, you will see the QR code, which is our WeChat subscription account, by following our account, you can control your devices on WeChat page. We will post article introducing our new smart home devices, and user guide there.
We will develop more functions for WeChat control.
Desktop Widget
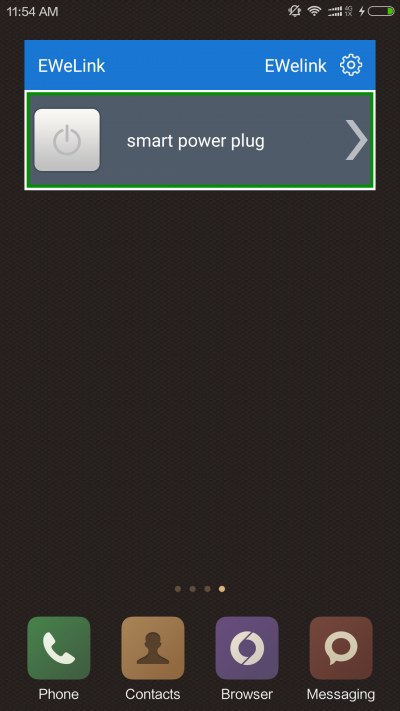
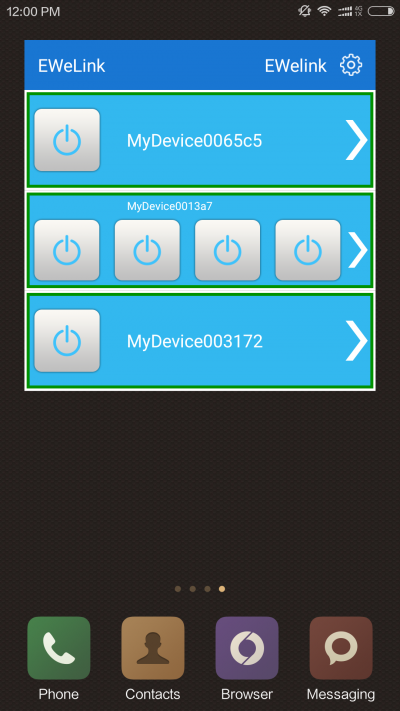
eWeLink android version support to add device widget to phone desktop. By dragging the devices to phone desktop, users can directly see device real-time state and directly turn on/off. But this function may not work for some Andriod version, we will continuously optimize it.
 Notice