Difference between revisions of "Translations:ITDB02-2.2S/15/zh-cn"

From ITEAD Wiki
Jump to: navigation, search
(Created page with "<big>'''利用PWM引脚控制LEDA背光'''</big> *用arduino IDE打开'''0.1Basics\Fade'''的例子,烧写到UNO中去。 *然后按照以下的接线方式连接UNO和ITD...")
 
m
 
Line 14: Line 14:
 
|-
 
|-
 
|}
 
|}
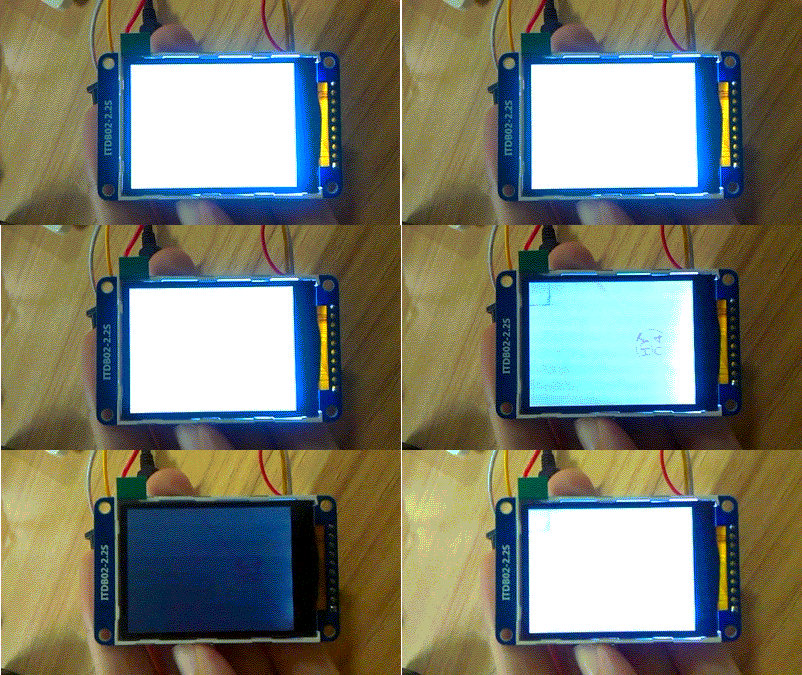
*插上电源后,可以看到屏幕的背光会由暗到亮,由亮到暗这样循环发光。
+
*主板插上电源后,可以看到屏幕的背光会由暗到亮,由亮到暗这样循环发光。
 
[[File:IM140714001in2.gif|500px]]
 
[[File:IM140714001in2.gif|500px]]

Latest revision as of 03:36, 22 July 2014

Information about message (contribute)
This message has no documentation. If you know where or how this message is used, you can help other translators by adding documentation to this message.
Message definition (ITDB02-2.2S)
<big>'''Control LEDA backlight via PWM pins'''</big>
*Use arduino IDE to open the demo '''0.1Basics\Fade''', then upload it into UNO
*Connect ITDB02-2.2S module to UNO according to the table as below:
{| class="wikitable wikitable-indent"
|-
| align="center" style="background:#f0f0f0;"|'''2.2S pins'''
| align="center" style="background:#f0f0f0;"|'''UNO pins'''
|-
| VCC||5V
|-
| GND||GND
|-
| LEDA||D9
|-
|}
*Power UNO main board, you will see the backlight of display turn form dark to light circularly.
[[File:IM140714001in2.gif|500px]]
Translation<big>'''利用PWM引脚控制LEDA背光'''</big>
*用arduino IDE打开'''0.1Basics\Fade'''的例子,烧写到UNO中去。
*然后按照以下的接线方式连接UNO和[[ITDB02-2.2S]]模块:
{| class="wikitable wikitable-indent"
|-
| align="center" style="background:#f0f0f0;"|'''2.2S 引脚'''
| align="center" style="background:#f0f0f0;"|'''UNO 引脚'''
|-
| VCC||5V
|-
| GND||GND
|-
| LEDA||D9
|-
|}
*主板插上电源后,可以看到屏幕的背光会由暗到亮,由亮到暗这样循环发光。
[[File:IM140714001in2.gif|500px]]

利用PWM引脚控制LEDA背光

  • 用arduino IDE打开0.1Basics\Fade的例子,烧写到UNO中去。
  • 然后按照以下的接线方式连接UNO和ITDB02-2.2S模块:
2.2S 引脚 UNO 引脚
VCC 5V
GND GND
LEDA D9
  • 主板插上电源后,可以看到屏幕的背光会由暗到亮,由亮到暗这样循环发光。

IM140714001in2.gif